PROSTHETICS
Overview
Lower Extremity
Above Knee
Below Knee
Foot
Upper Extremity
Above Elbow
Below Elbow
Hand

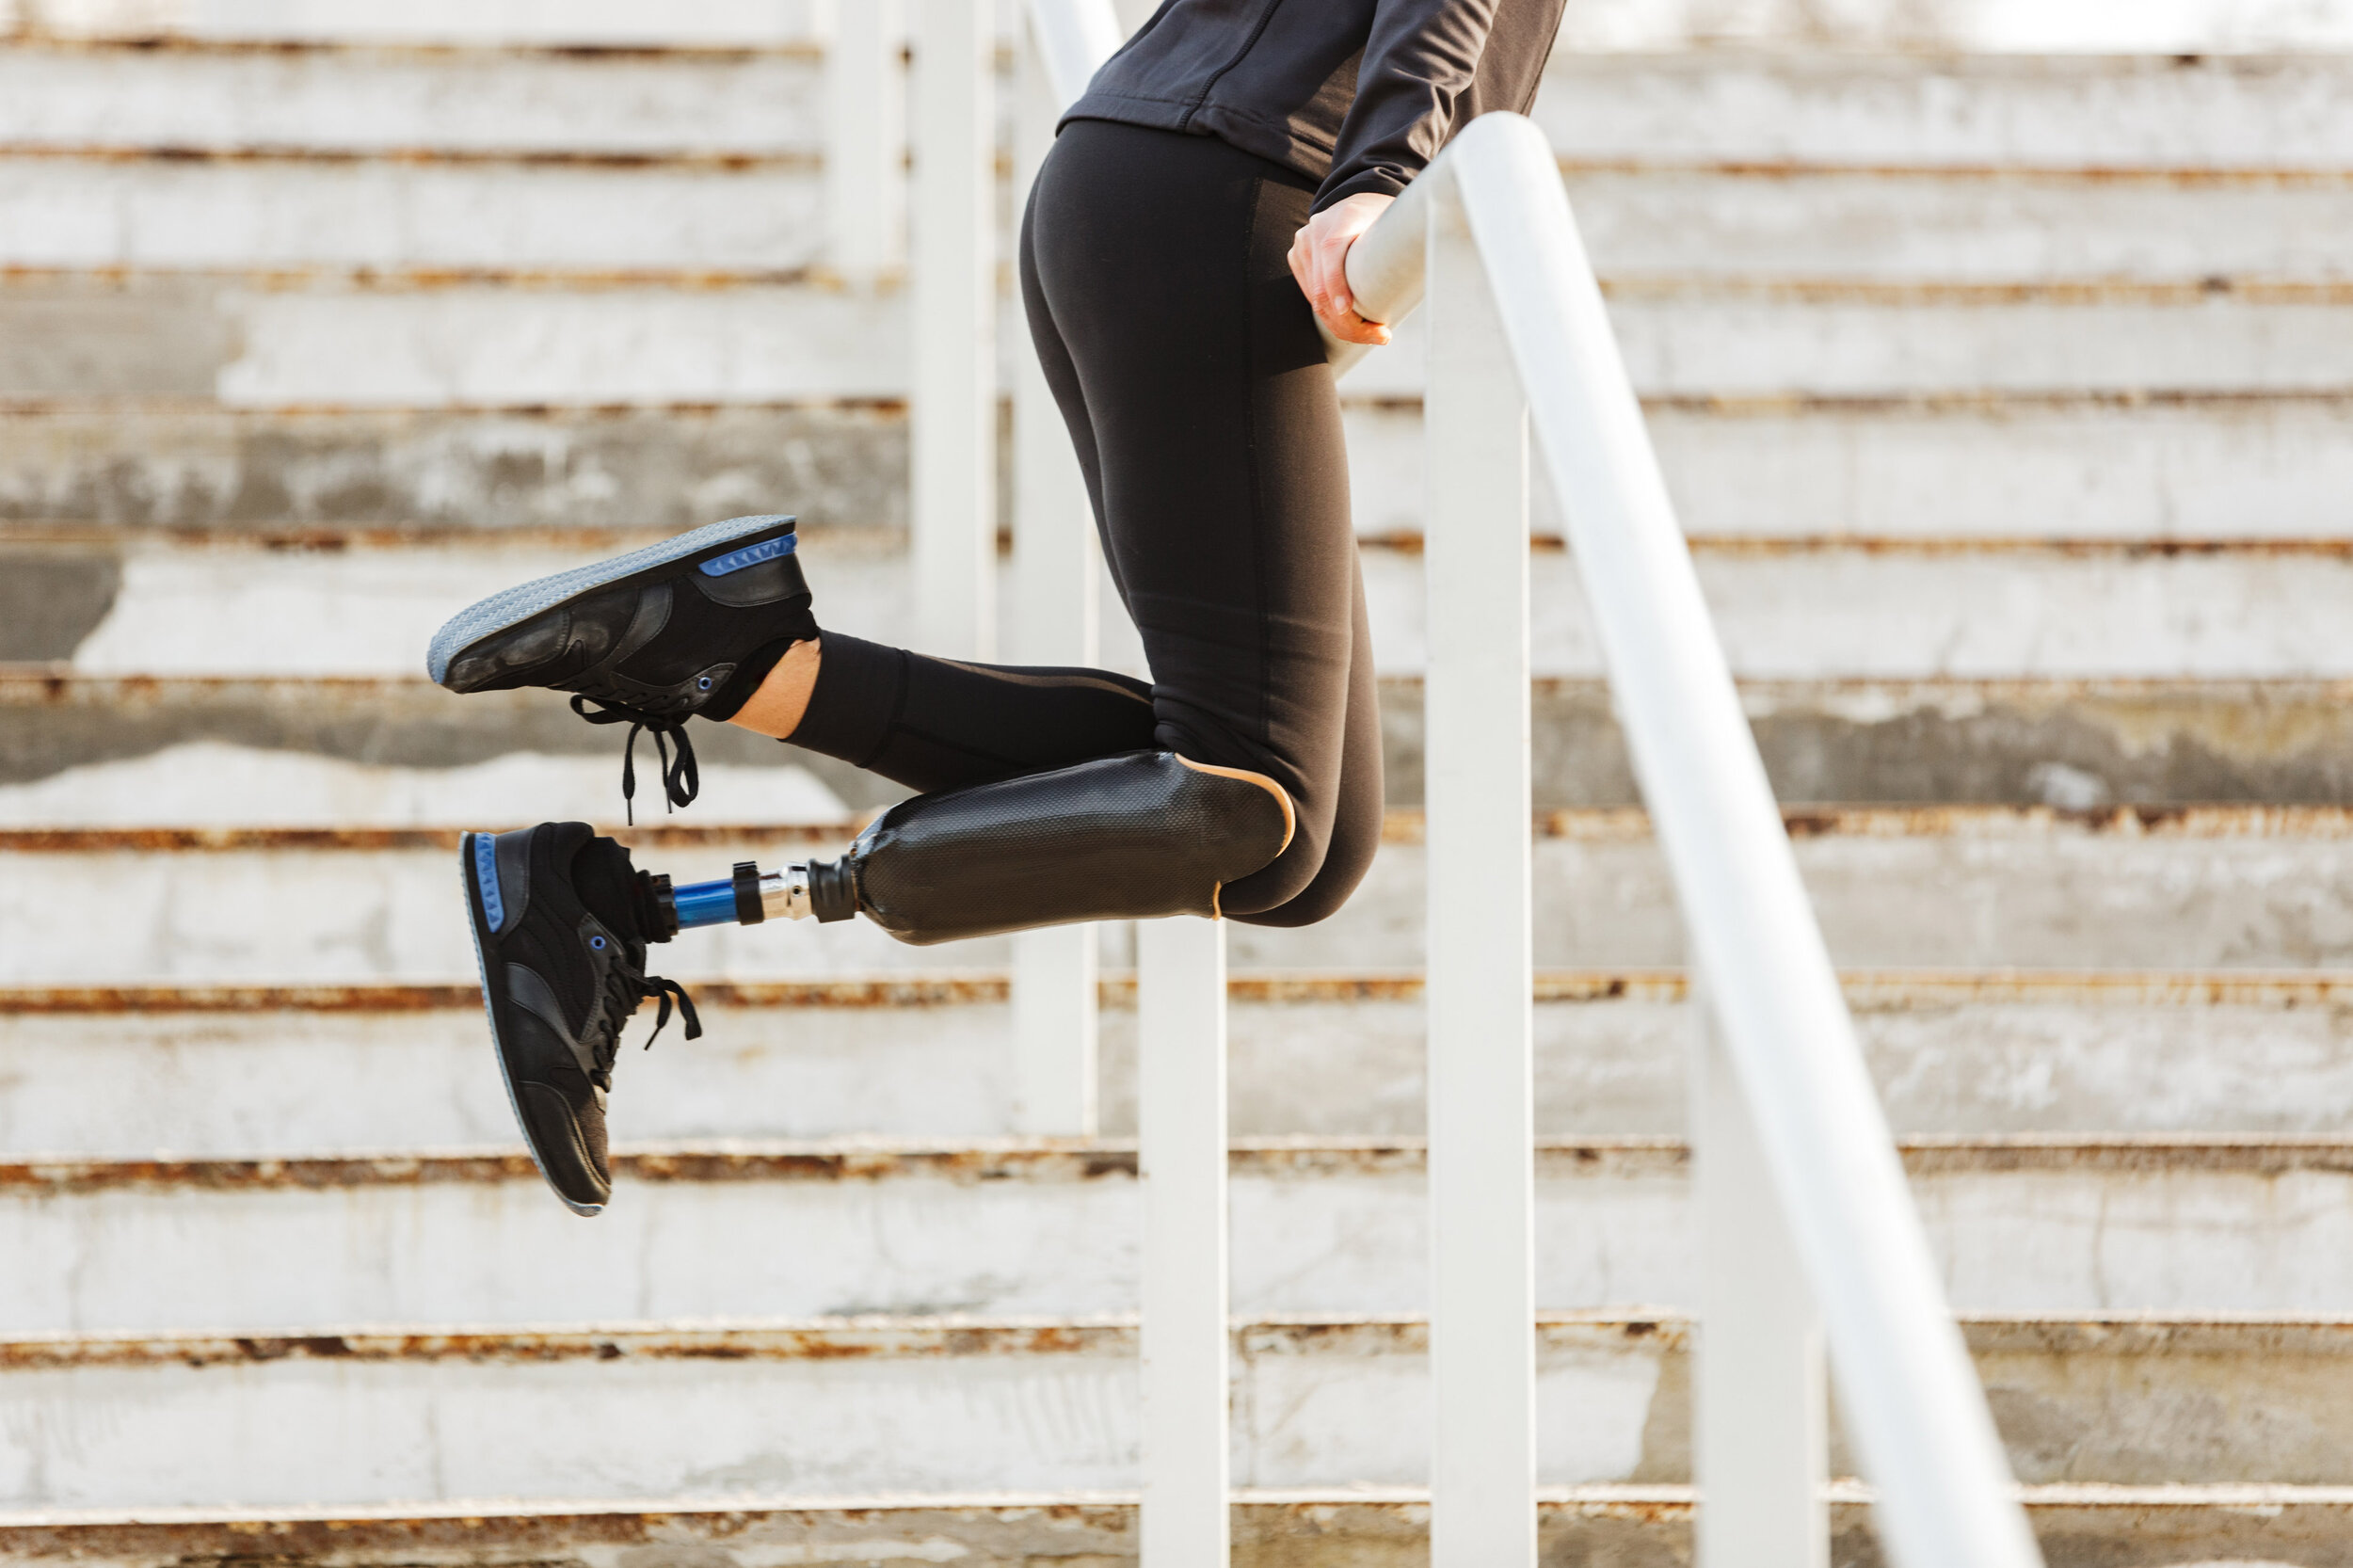
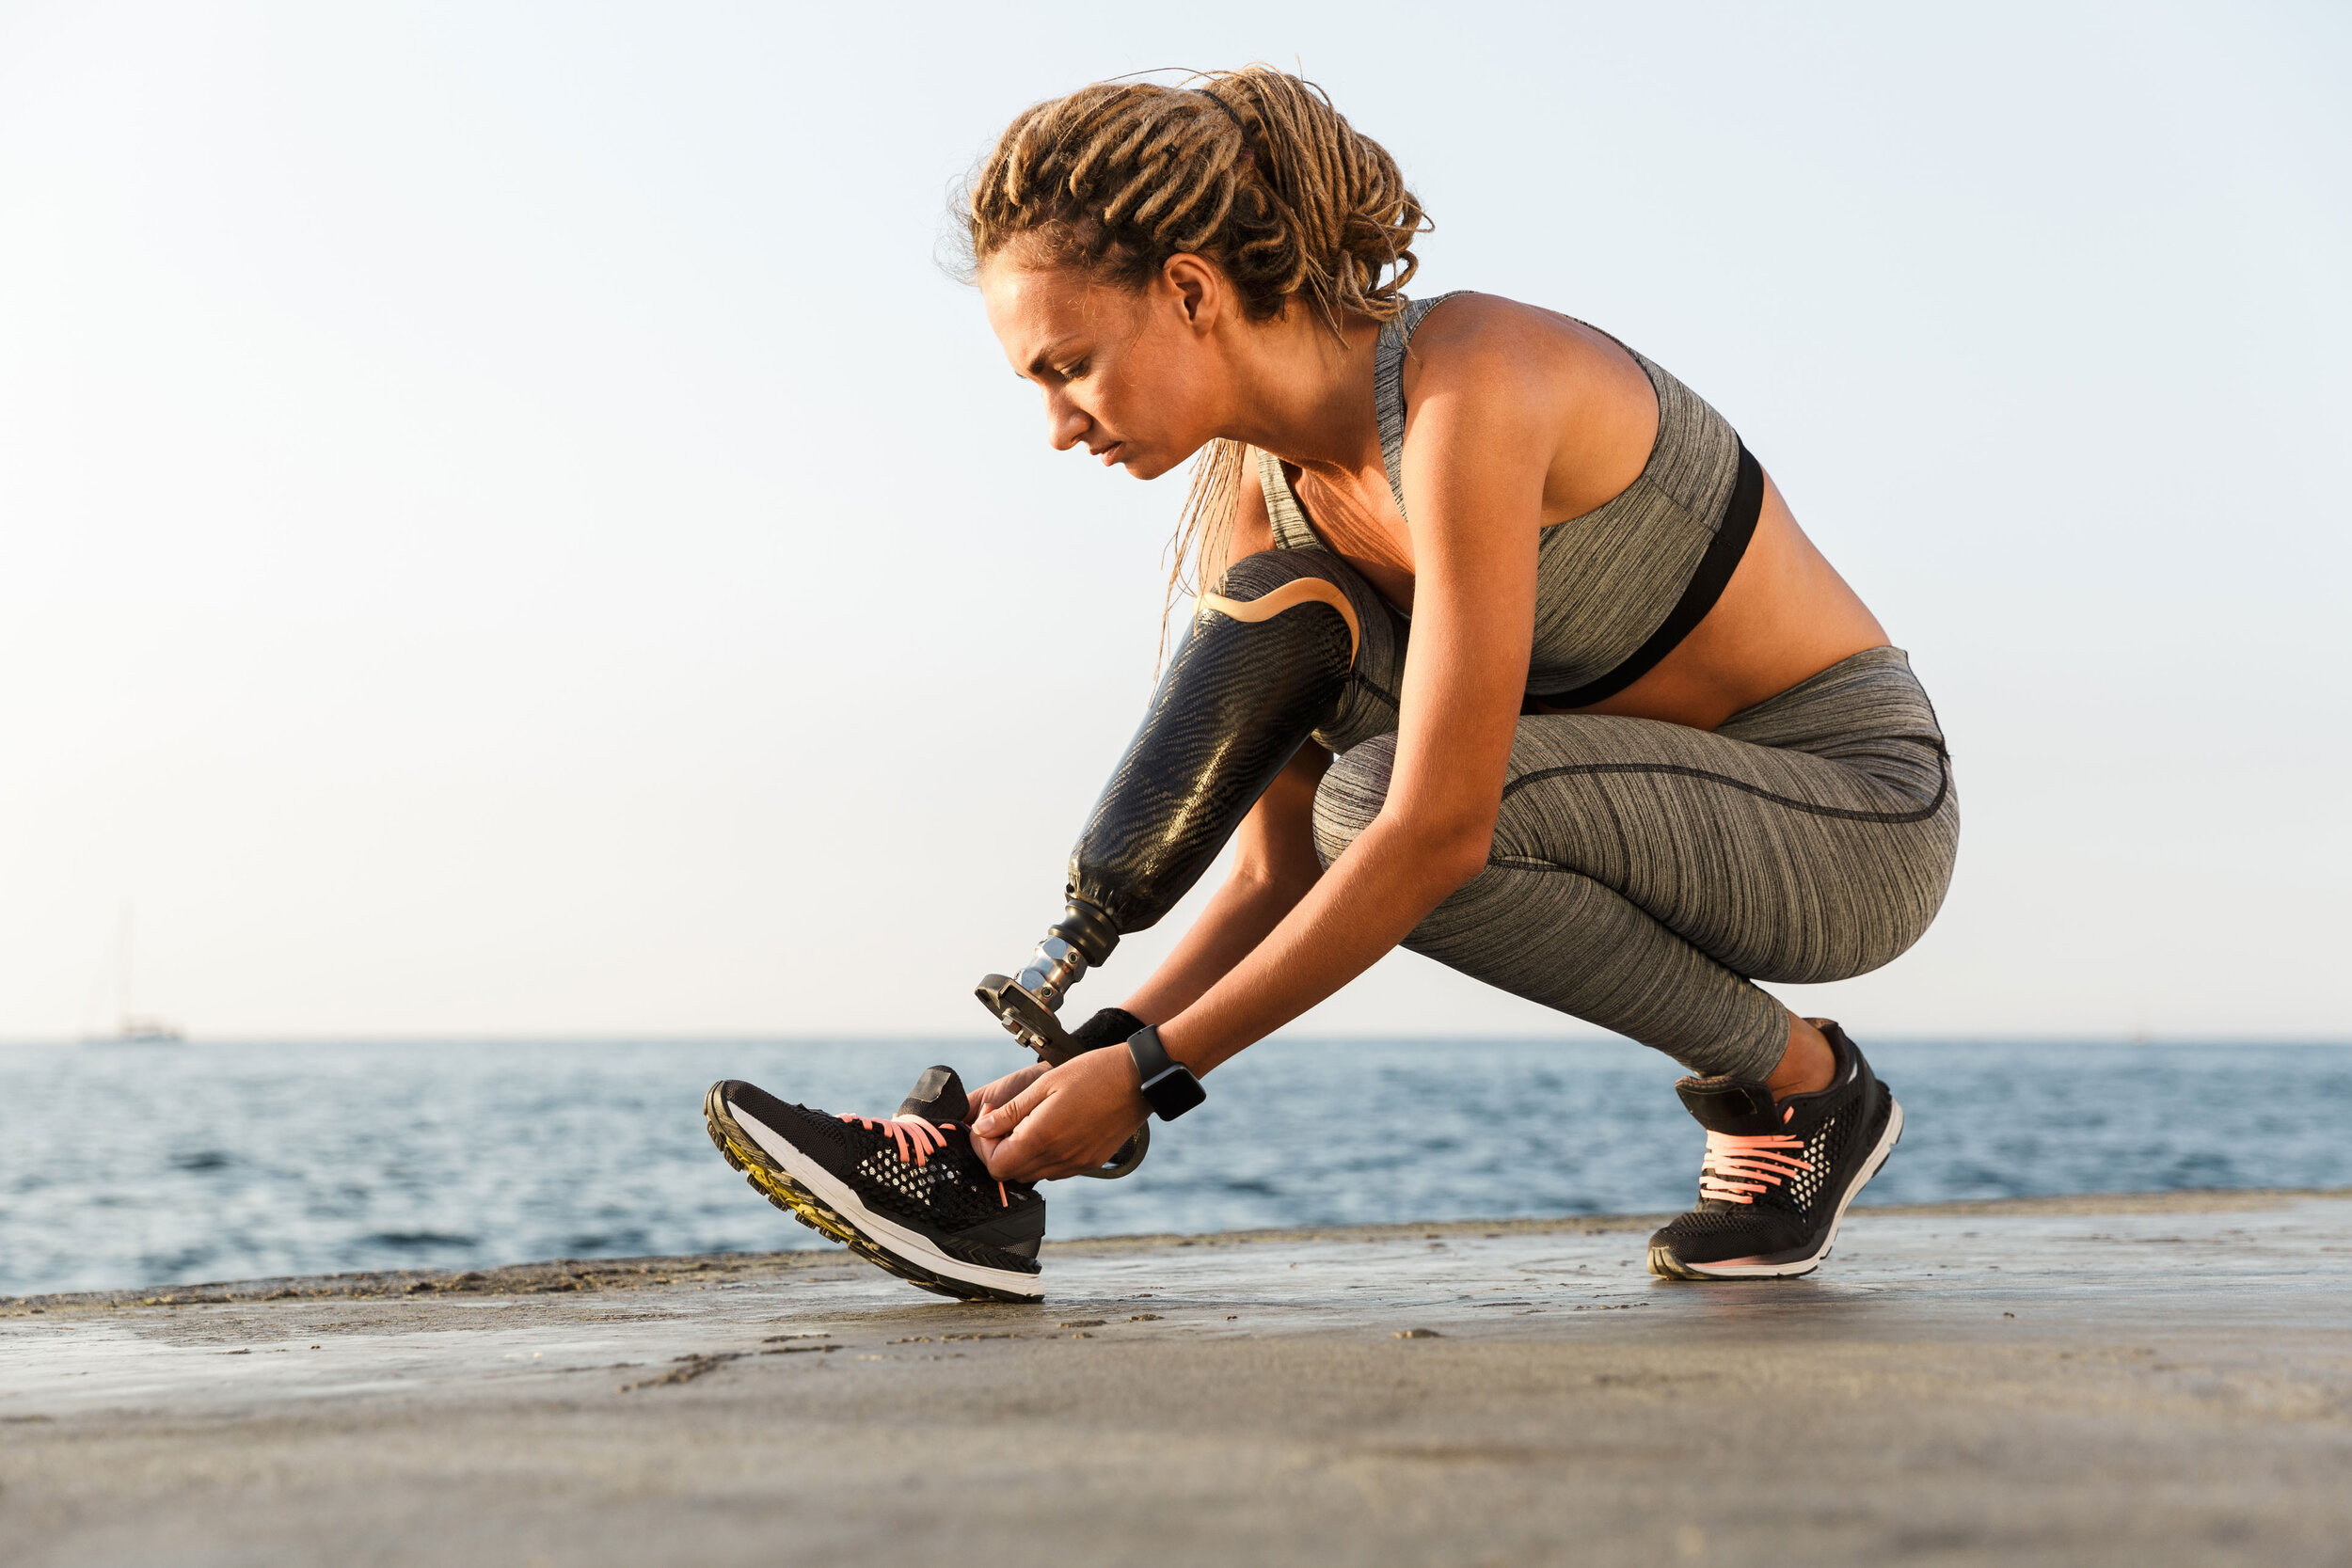
Below Knee Prosthetics
A below knee (BK) or transtibial (TT) prosthesis is custom made for a person who has had a BK or TT amputation. The prosthesis consists of a custom made socket, liner, pylon, and foot. Sometimes the prosthesis may consist of a sleeve or other harness, depending on the suspension system used for that patient.
Beginning the Process
The process to start getting a BK prosthesis can start as soon as a few days/weeks after the amputation. The patient can be fit with an IPOP (Flotech, Ampushield or custom made) in the hospital or rehab center to help to protect patients’ surgical wounds, promote healing, controls swelling/edema and allows patients to become accustomed to wearing a device. The patient can also be fit with a BK Shrinker. After surgery, the patient’s limb will change size and shape up to the next year. The shrinker will help stabilize the limb size earlier on and give the patient a more successful prosthetic experience.
Liners and Cast/Scan
The next step in the process is to have the patient fit with a liner. The liner is a soft interface that the patient wears over the skin. It is donned before the socket. The main function of the liner is to absorb the forces created when ambulating in your prosthesis, to keep your residual limb healthy, and to allow you to wear the prosthesis for longer.
Once the liner is ready to be fit on the patient, they are called to come back into the office for a casting appointment. The liner will be donned onto the patient’s limb and the fit will be assessed. If the fit is well, measurements and a cast of the limb will be taken over the liner. From here, the cast will be filled and modified appropriately to make your custom BK diagnostic prosthetic socket.
Diagnostic sockets
The first prosthetic socket you will receive will be called a diagnostic socket. This socket will be made of a clear plastic, utilizing the appropriate suspension method (pin/locking, elevated vacuum, suction). The socket will be attached to a tech plate. The limb will also reduce in size and change shape once you start walking on it. This is due to the new forces that are being applied to your limb when you are using your prosthesis. Volume loss is common and expected in your first prosthesis. When the socket feels loose and you are able to don the prosthesis a little too easily, you may need socks to take up this loss of volume. Volume loss can be addressed by using socks, which come in different plies (1,2,3,5,6). The higher the number of ply, the thicker the sock. This can help prevent your limb from moving around in the socket too much, which can leading to limb soreness, redness, bruising and edema. The height of the prosthesis will be set the appropriate length for the patient. Alignment will be adjusted through the different componentry to give the patient the best gait.
Laminated/Final socket
Once limb volume has stabilized and the diagnostic prosthetic socket fits the patient well, we can move on to the laminated socket. The laminated socket is fabricated using carbon fiber, which means it is much lighter than the plastic socket and has a higher tensile strength. Carbon fiber is also more durable, son the socket will be able to last up to a few years, depending on activity level and any limb changes. The patient can choose to have the socket custom designed/colored to meet their personality, which may to have the socket color match their skin tone or have their favorite sports team logo on the socket.
The prosthesis will be donned with the patient several times, allowing the patient to be able to don/doff it themselves. Physical therapy will play an important part of gait training and strengthening their lower limb muscles outside of appointments with your prosthetist.